Check out these genius kitchen ideas to organize your pantry (for good) with a free printable inventory checklist.
There are certain parts of every house that are just so dang hard to keep organized, and usually the more an area is utilized, the messier it becomes!
And with the amount of “action” my pantry gets (#myfamilyeatstoomuch), it is one of the top contenders of cluttered challenges in my house!
If you have kids like I do, you probably can feel my pain because there seems to be a revolving door on my pantry!
But listen, I am not one to give up easily on a challenge, so I am going to give it all I’ve got to create and keep an organized pantry!
For the record…I’ve only lived in my house for 6 months, and this is how bad my pantry was before I began! (Check out the “AFTER” photos at the end of the post)
BEFORE
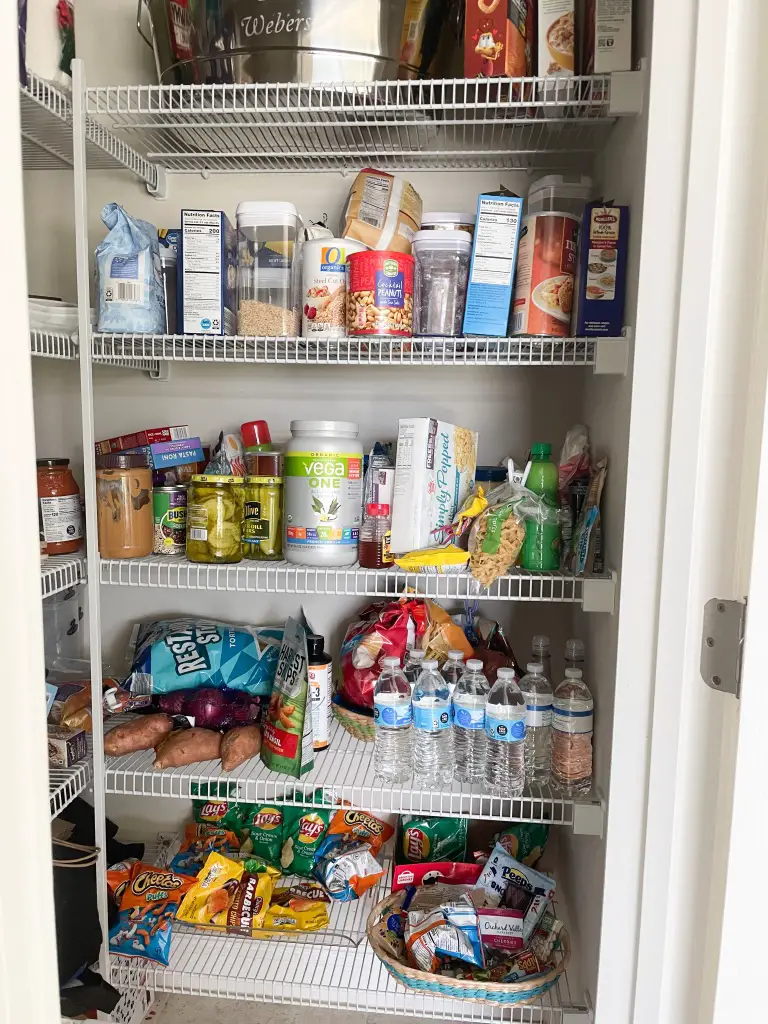
And if I can organize my pantry and KEEEP is organized with my house of always-grazing kids, you can too!
So let’s jump right in, and I’ll show you exactly how you too can slay the pantry organization game!
Note: The links in this post are Amazon affiliate links, and we earn paid commissions when you make a purchase by clicking through our links at no cost to you. Read our full disclaimer policy here.)
1. CLEAR AWAY
The first step of any organization project is to start with a fresh slate!!
I know this step is by far the most difficult step, but I PROMISE you, it’s essential!!
You cannot get a clear sense of the space and amount of storage you have if you simply just dig around in the pantry and toss a few things in the trash.
Before you do anything else, pull everything out of your pantry!
Oven mitts, random utensils, empty jars, and other UFOs (Unidentified Food Objects) all need to be removed!
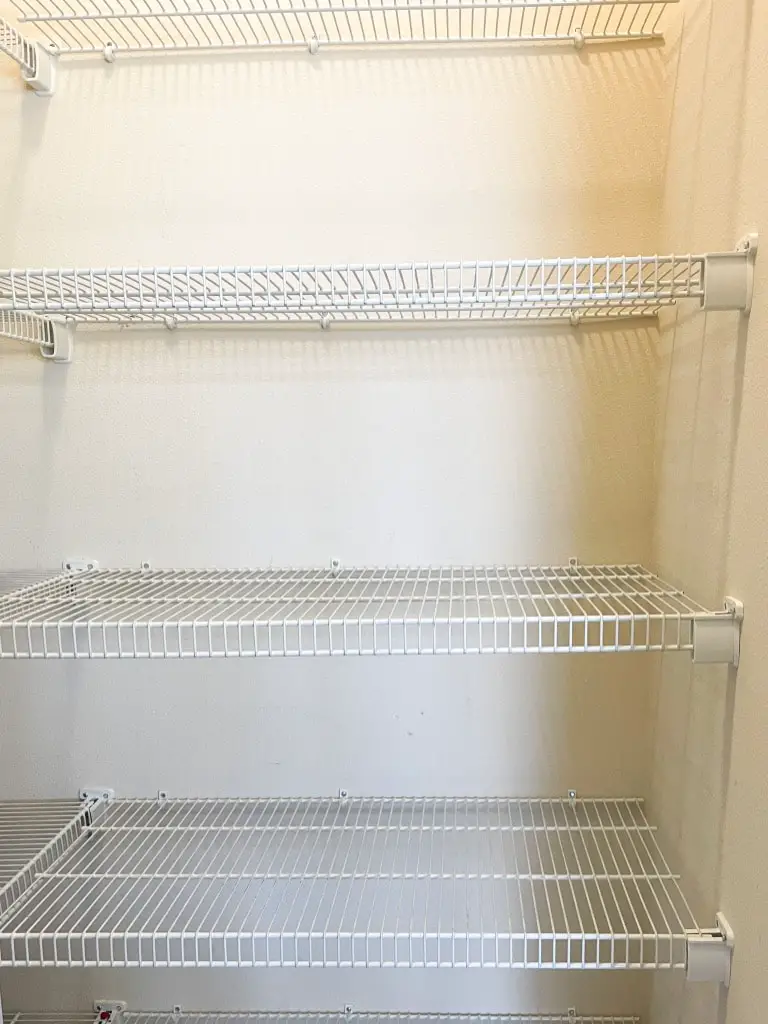
See: I even have proof that I did it too!
CLEAN SLATE = EMPTY PANTRY SHELVES
2. CLEAN AWAY
With a completely empty space, you can do a thorough cleaning job!
I have wire shelves, so the shelving itself was not very dirty, but there was quite a bit of debris on the ground that had fallen through the shelf space.
If you have solid shelves, you will want to wipe them down really well before we go to the next step!
My preferred method of cleaning about anything is to grab and use a “magic eraser”.
It’s fabulous at removing grease spots or stuck-on stains from the pantry shelves!
If you have shelves that are prone to getting very dirty, you may want to add shelf liner to give your shelving an extra layer of protection from spills and stains!
*Tidy Tip #1* – I also use the magic eraser to wipe down the outside and inside of the pantry door and any nearby wall that might be dirty! The outside of our pantry door gets super dirty from grimy kid hands!
3. TOSS AWAY
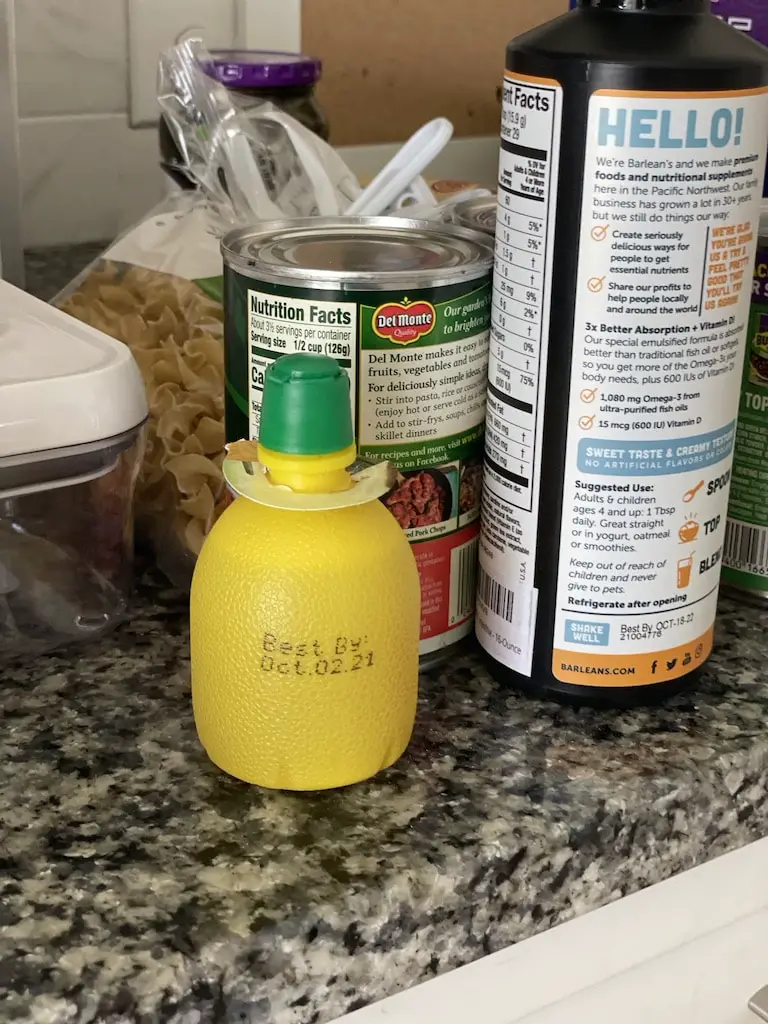
Now that everything is out of your pantry and the shelves are thoroughly wiped down, it’s time to assess the expiration dates of all the food items, dry goods, baking supplies, canned goods, snacks.
Nobody wants to be cooking with or even worse, eating food that is past the expiration date, so you’ll need to throw these items in the trash.
EXPIRED FOODS – NO THANKS!!
*Tidy Tip #2* – It’s a great idea to check the jars of spices, rice, pasta, or any other food items that might get clumpy or hardened…so give them all a good shake to make sure they are still usable and fresh! (Brown sugar, you know I’m looking at you!!!)
During this step of pantry organization, you will also want to remove anything that’s not cooking or food items to make more space in your pantry…for me, that was empty baskets that I wasn’t using, some random party supplies, and a few other different containers that just didn’t belong there!
Bonus points for making a list of any food, canned goods, or baking ingredients you are running low on that you need to purchase!
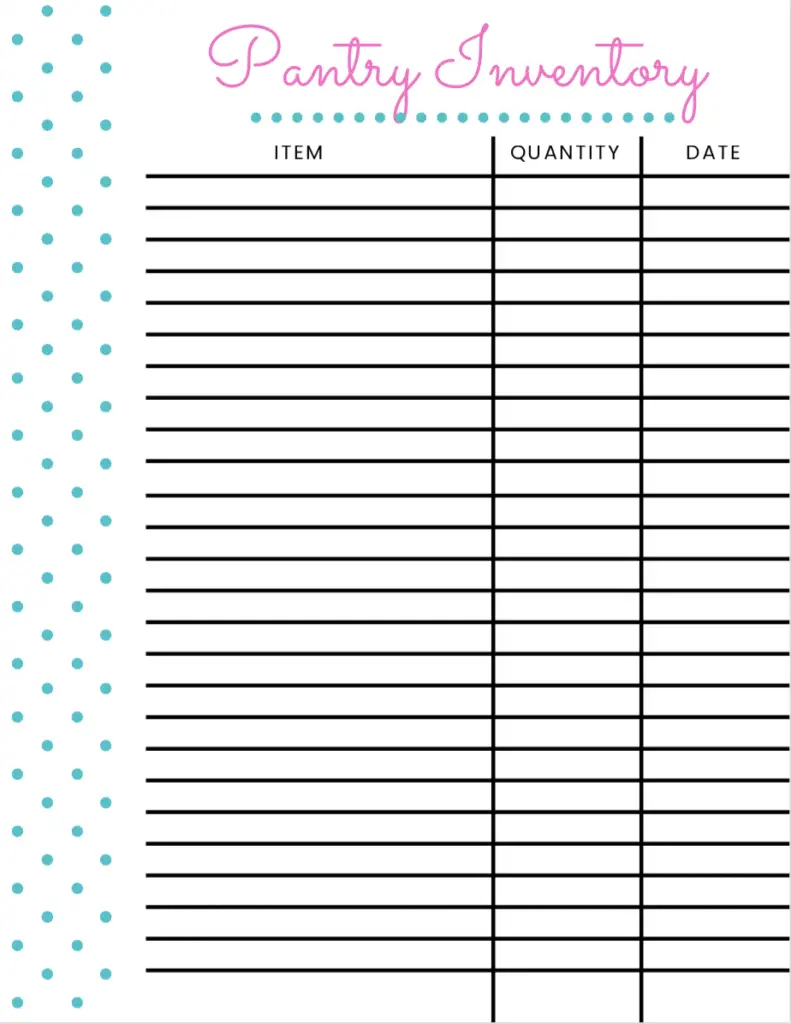
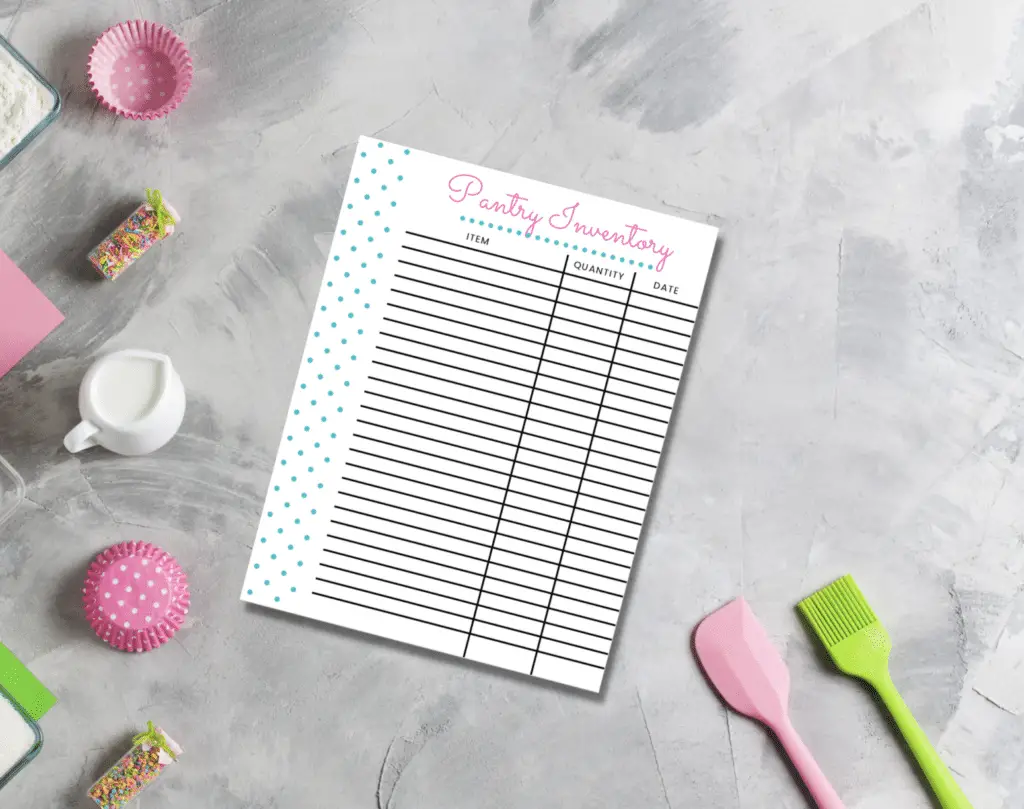
To make things even easier for you, I made printable pantry inventory that you can grab here below!
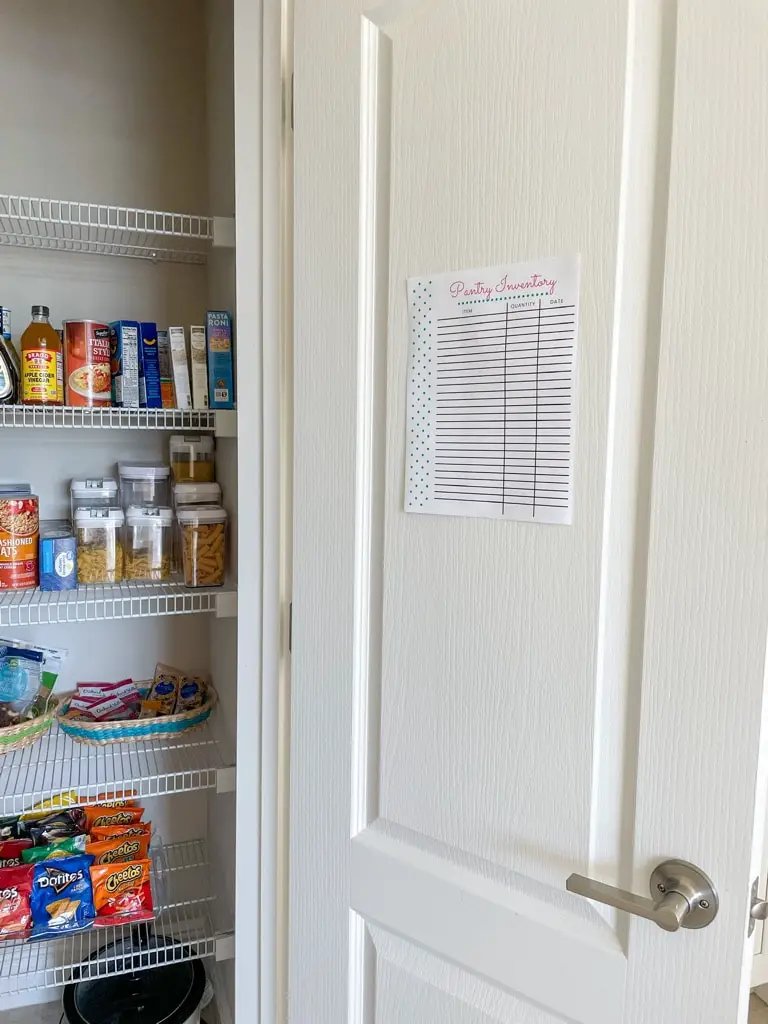
*Tidy Tip #3* – Laminate this food inventory checklist (and use a dry erase or a vis-a-vis marker to write on it) and hang it inside the door of your pantry (or even on the wall if you want it tucked out of sight) so you always have a running list of what needs to be replenished for the next time you grocery shop and stock up the pantry!
Once you’ve purchased what you need, you can wipe off your inventory and reuse it again!
4. PLAN AWAY
Now that you’ve cleared out your pantry, cleaned the shelves and floor, and have tossed any expired items, it’s time to come up with a plan to have organized food items with easy access and limited wasted space.
The best way to organize pantry items is to create zones.
The zones I utilize for my walk-in pantry are dry goods, snacks, cereals, canned goods, glass jars, beverages, and small appliances.
Think about what zones you could create in your pantry and start to put like items together.
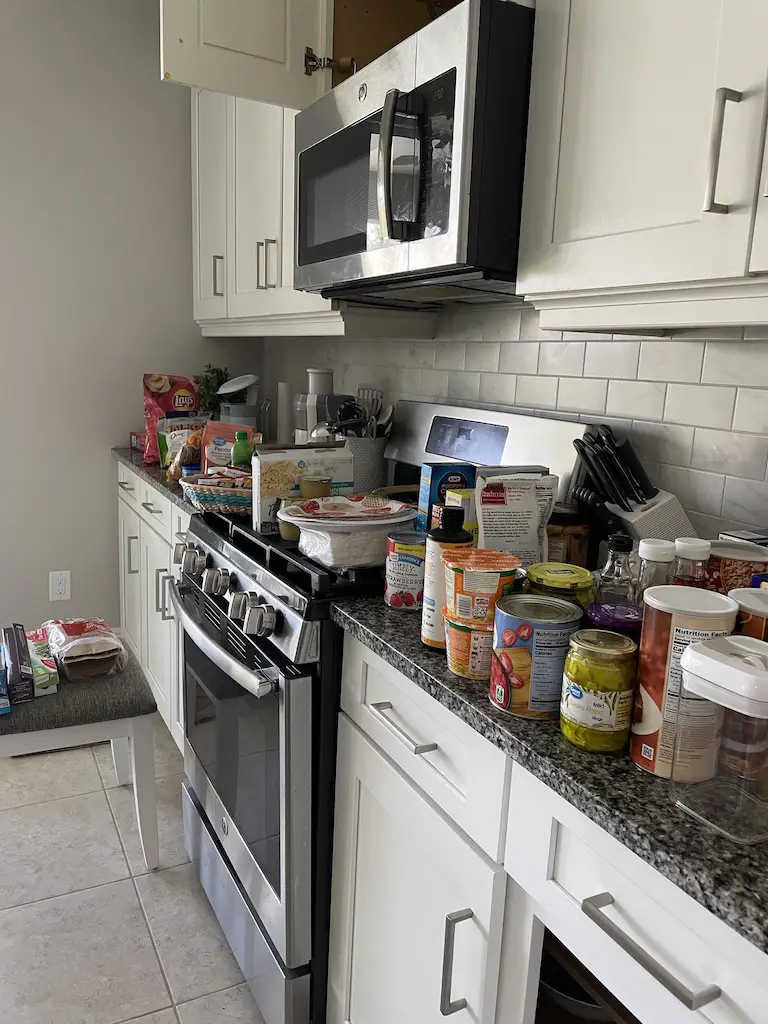
I started putting my various food items in groups together on my counter before I reloaded my pantry.
5. CONTAIN AWAY
The best way to MAINTAIN an organized pantry is to CONTAIN!
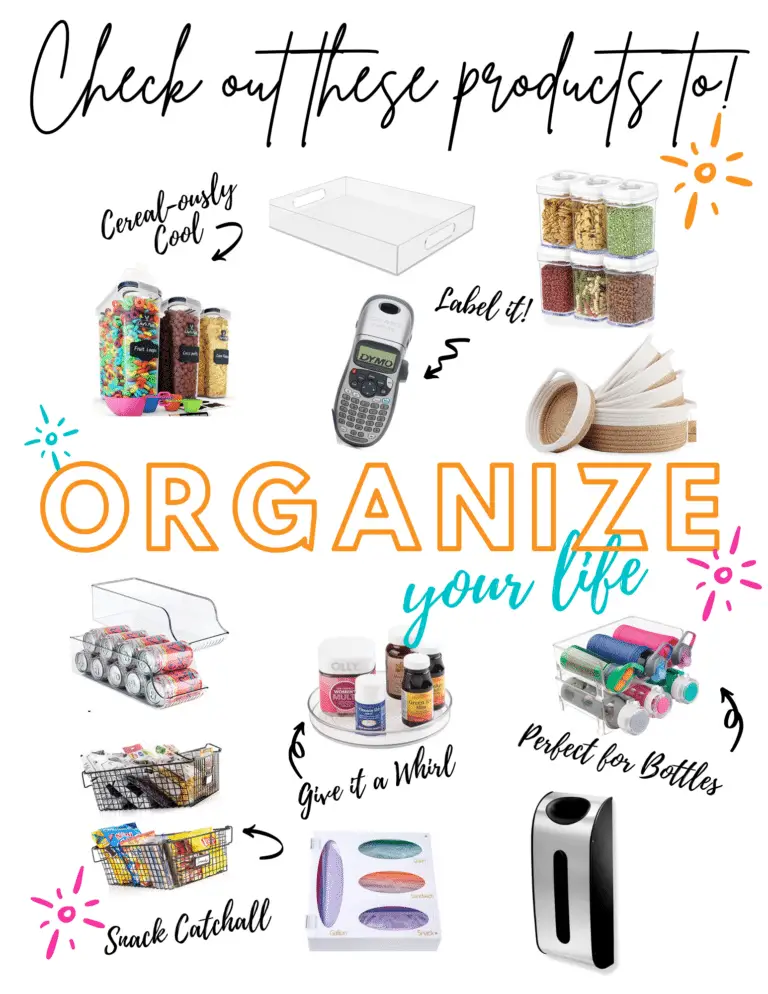
Simply investing in just a few basic organizing products can make all the difference!
I’m more of an organizer product minimalist, so I only use a few items to organize my walk-in pantry…most of which I’ve been gifted or picked up at a discount store (I guess I’m a budget babe minimalist to boot!)
I’ll be writing a more detailed blog post featuring my top suggested products to keep everything in your pantry decluttered and tidy, so keep your eyes out for that!
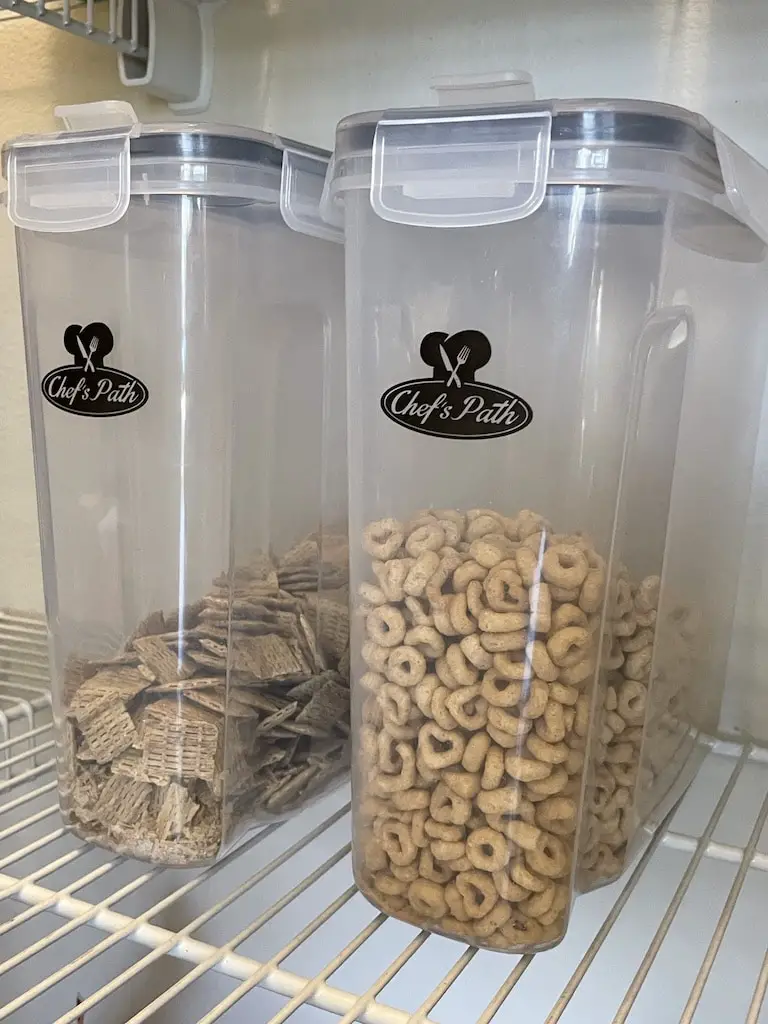
A. Cereal Containers
It’s been an ongoing challenge in my house to keep cereal fresh. I more often than not find our cereal boxes wide open just begging to go stale!
Placing cereal in clear containers that are air-tight will help increase the longevity of your breakfast cereal.
It also helps in creating a more cohesive, less cluttered look for the space by eliminating the original packaging.
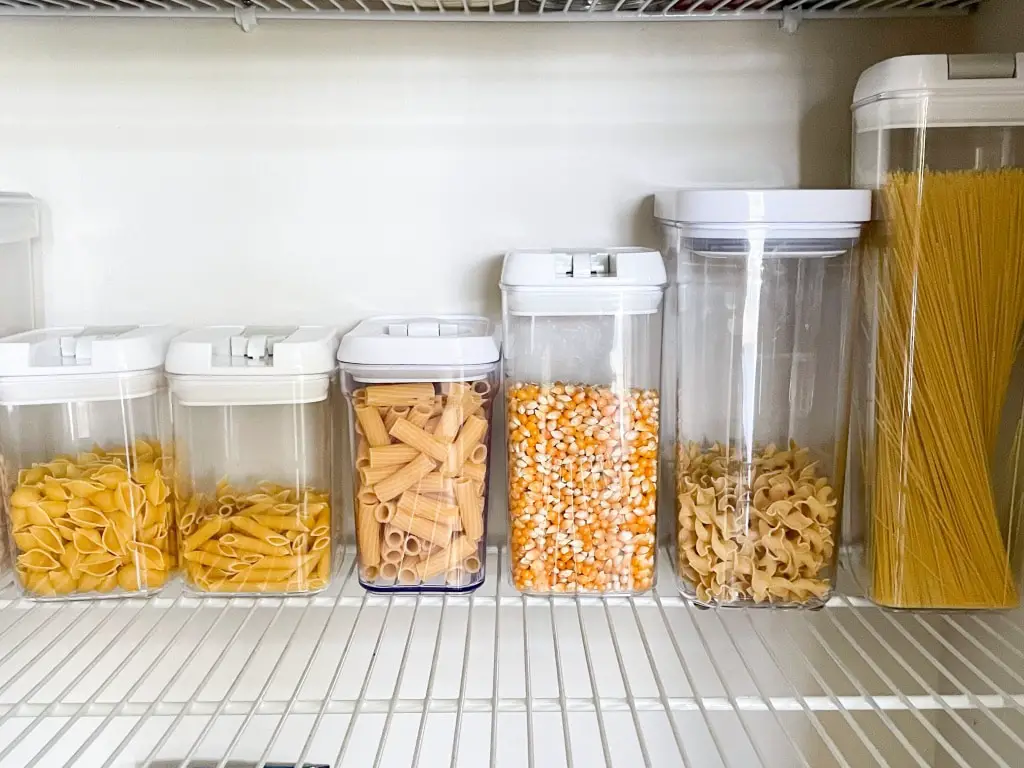
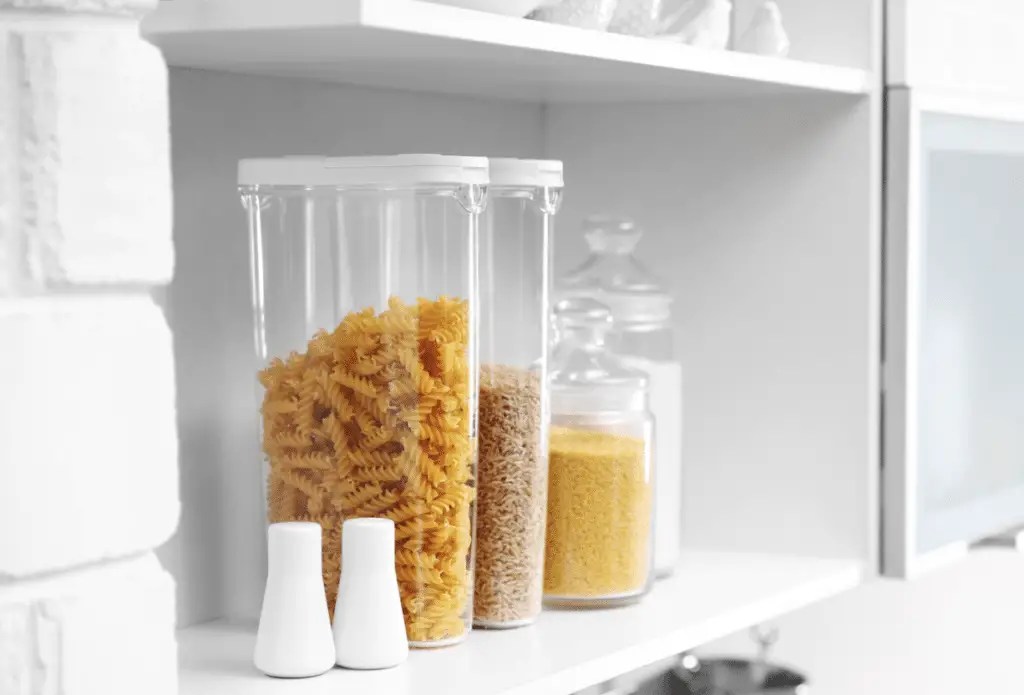
B. Ingredient Storage Containers
I mostly use these clear bins in my storage space for pasta and rice. It keeps them fresh and pulls together a more organized look with the uniform containers.
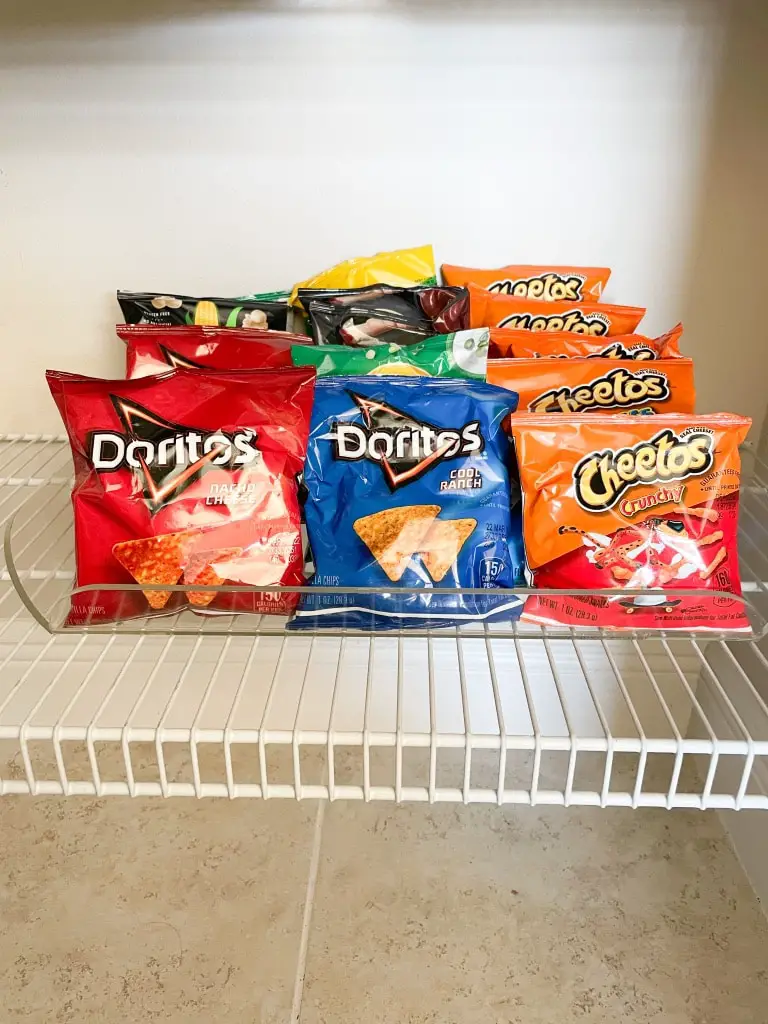
C. Acrylic Tray
In my pantry, I almost always opt to use clear containers like this acrylic tray so I can clearly see what is in the space.
This tray is perfect for displaying individual snack items or easy-to-grab lunch food that my kids can easily access.
D. Baskets and Bins
I’m a huge fan of pretty much any basket or bin! Especially with the wire shelves in my pantry, I have several that I use for snack items…popcorn packages, jerky, granola bars, and nuts.
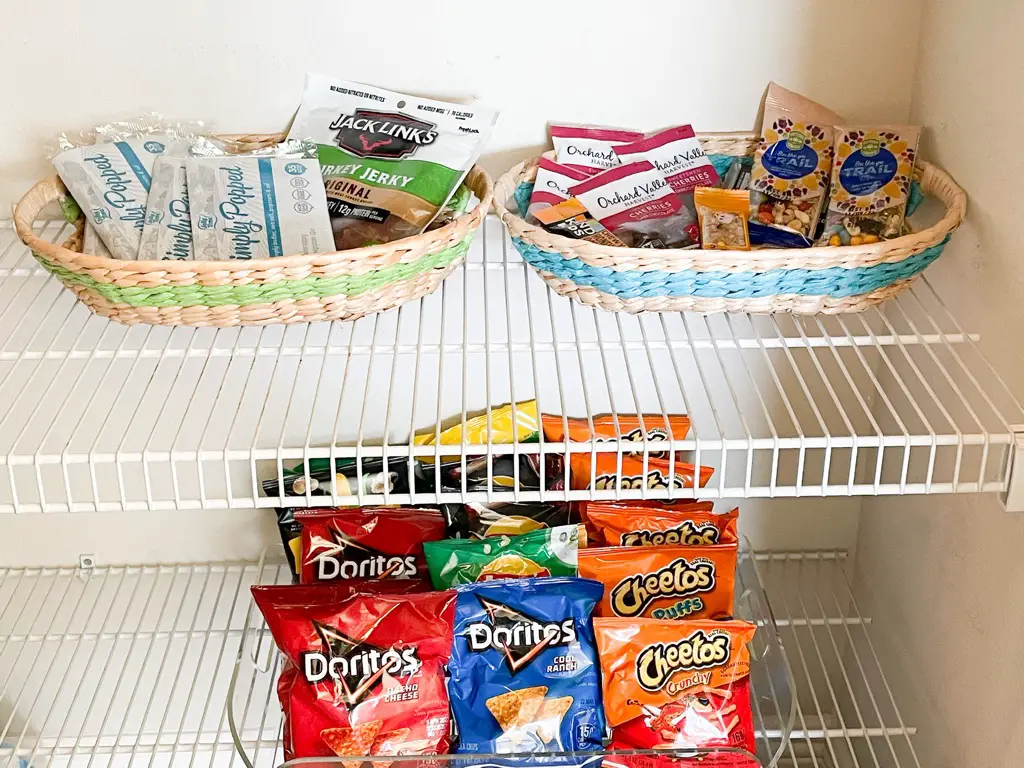
*Tidy Tip #4* – Remember, you don’t have to break your budget at the Container Store buying pantry storage products!
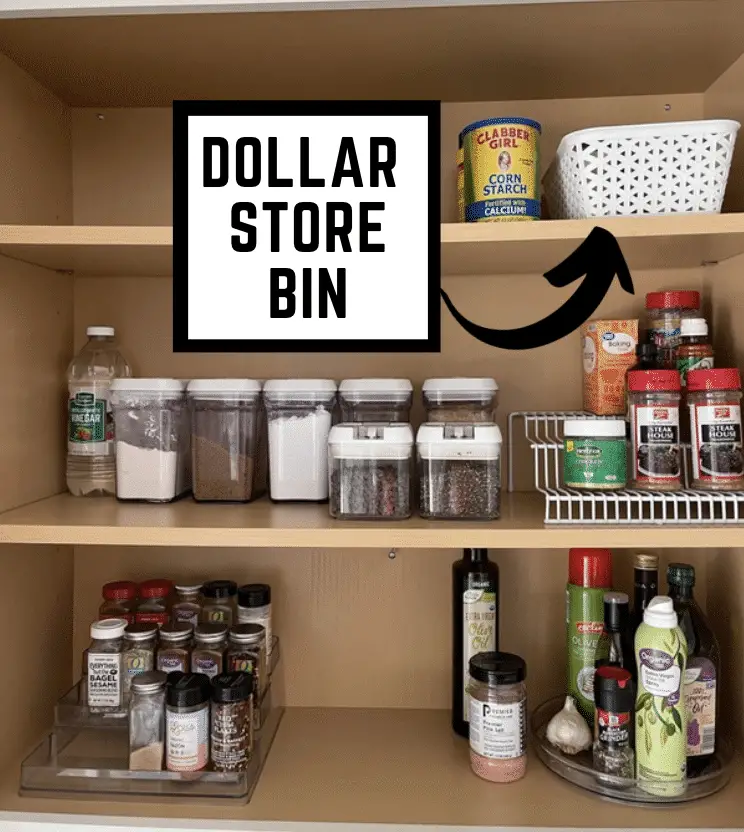
Even a professional organizer knows that there are smart ways to save money by shopping online at Amazon.com or at local discount stores (Walmart, Home Goods, TJ Maxx, etc.). I’ve even found some awesome organizers at the dollar store! #saveabuck
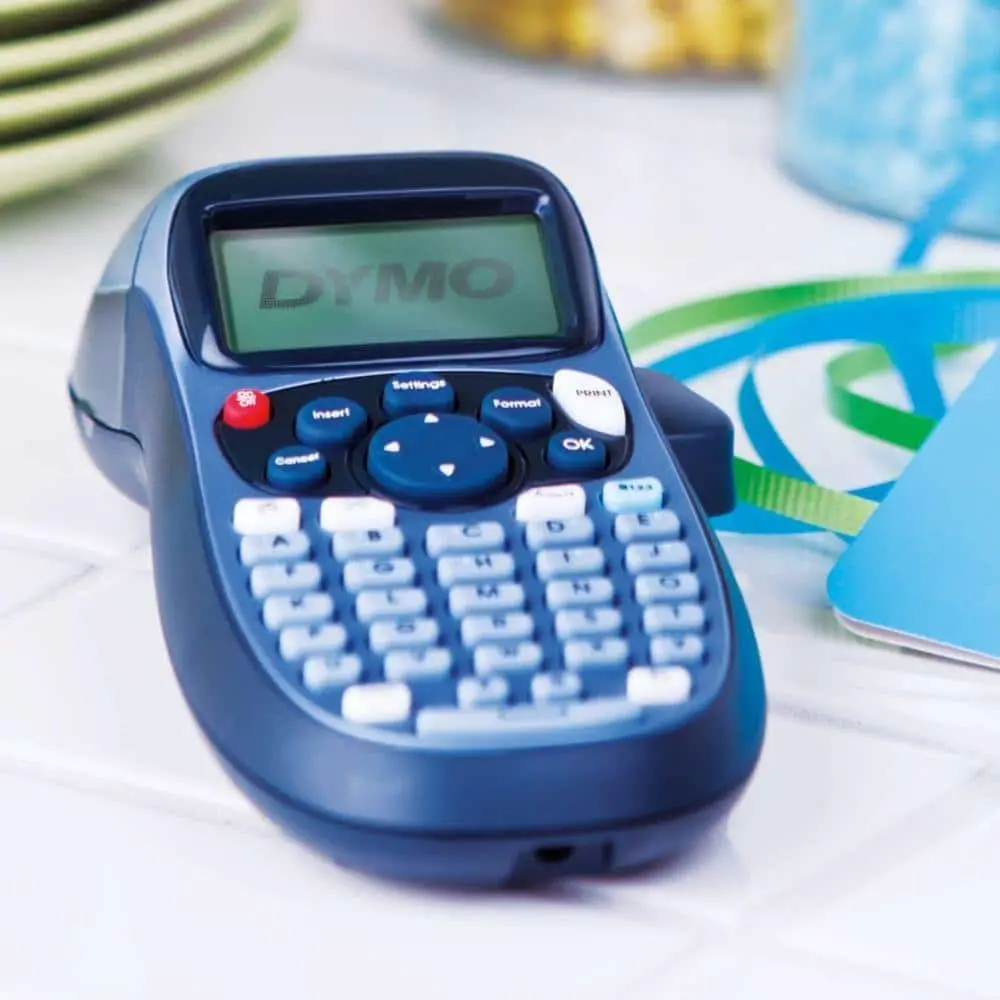
E. Digital Label Maker
If you really want to slay in the organized pantry game, get yourself a digital label maker to label everything in your pantry!
Nothing says “Organizational Goddess” like owning (and actually using) a label maker!!
And there you have it!
5 easy steps to organize your pantry!!
What do you think?
Can you tell much difference between the BEFORE and AFTER in my pantry space?
BEFORE

AFTER
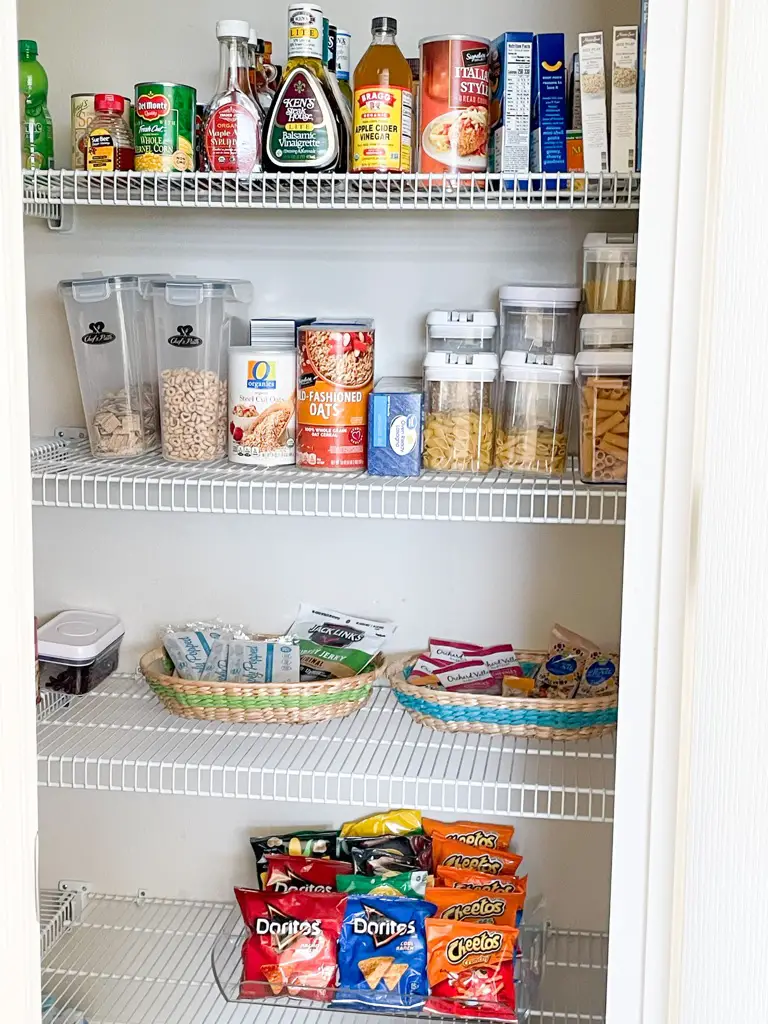
Until next time, cheers to a perfectly planned pantry, and cheers to you!
XOXO,
Magan
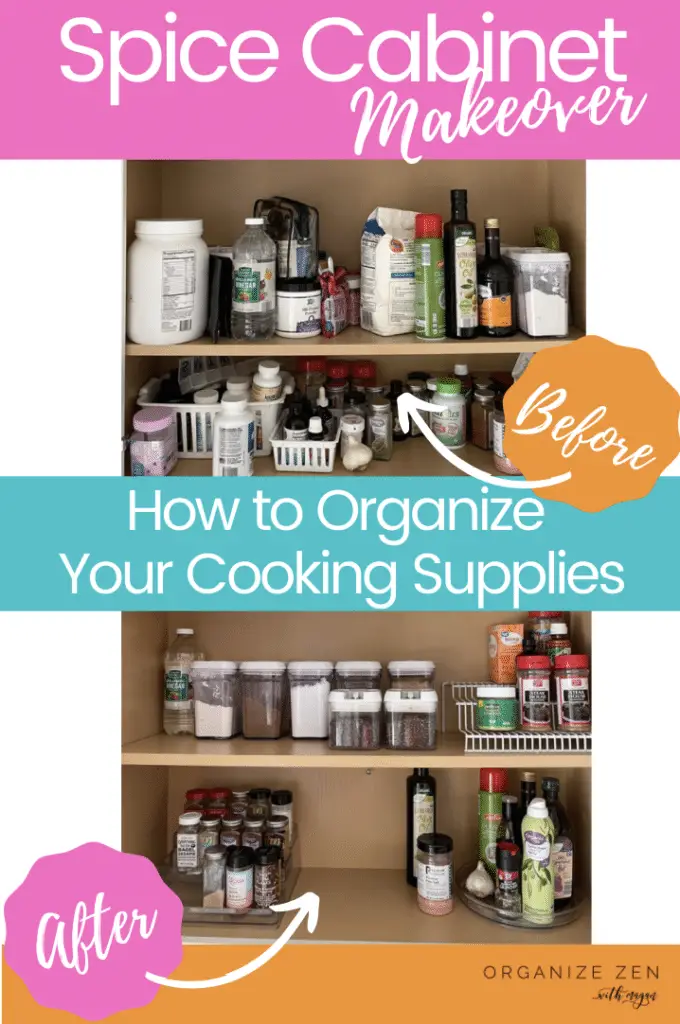
Want more help getting organized? Check out How to Organize your Spice Cabinet in 5 Easy Steps!


