Got a messy basement that desperately needs tidying? Feel like your storage spaces are constantly disorganized and in disarray? Then you are in luck because the Purge Party can help you have an organized storage area in 6 easy steps!
I’m shaking my head in disbelief that it’s the last week of the Purge Party!!!
How can this be??
Time really does fly when you are having fun….
although cleaning and decluttering your home may not be your idea of “fun” (unlike me who is a total organizing weirdo!), I hope that the work and effort you’ve put into your Purge Party has paid off by having a more simplified home that you love!
You’ve probably caught the hang of the process of the Purge Party, but in case you are arriving late to this simplicity soiree, I’ll give you a quick run down!
And if you’ve missed any of the other Purge Parties and want to catch up, I’ll put the links at the end!
So here we go…
HOW TO HAVE AN ORGANIZED STORAGE AREA IS 6 EASY STEPS
1. Visualize
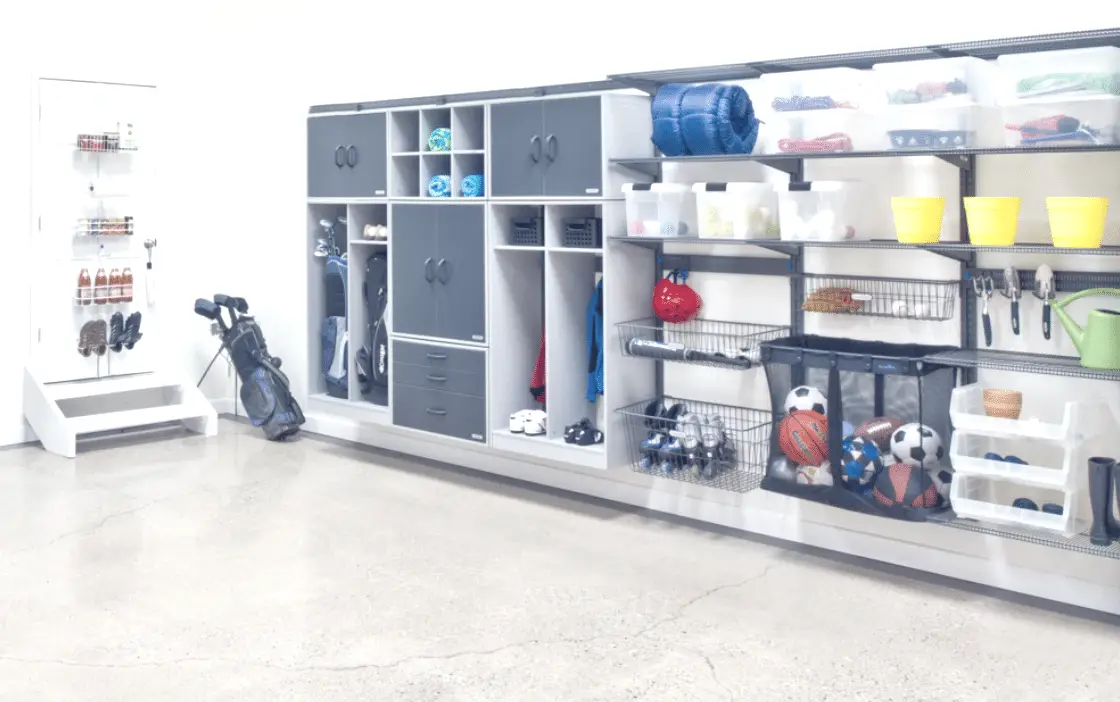
Before you begin a single thing…your very first job is to get a crystal clear vision of what you want for your garage (or basement or attic or whatever storage spot you have in your home)…
for me, my goal is to have a garage that is totally tidy and super organized while containing no junk!
The garage is an easy landing spot for things you aren’t sure whether you want to keep or not…it’s the land of “I might use it one day”.
Although the garage works for storing seasonal items, I don’t want mine to be filled with items I’m not sure about. Everything must have a purpose and add value to my family’s life.
2. Sing a Song
Okay, maybe singing ain’t your your thang’, but at least set the mood with some upbeat tunes!!
What’s your jam…heavy metal?
gangster rap?
old fashioned Honky Tonk?
Well, girl turn on whatever motivates you to dive in to that mess!
Isn’t it amazing how music can completely alter how you feel? So get going and pump up the jam!
3. Tools Ready?
Up next, you are going to need very simple tools for purging your storage area.
Don’t make this process harder than it has to be…simply grab 4 containers that you can use to sort your shiz-nit.
If you’ve got large Sterilite plastic type of storage totes, use them.
I don’t have any empty ones, so I just grabbed four random, mis-matched boxes that I had at my house.
You will want to label them so you know where to put the stuff you no longer want.
Mine are labeled like this: (Yes, I’m a total sucker for alliteration)
Rubbish (or trash) – crap that goes in the garbage that can’t be reused
Recycle/Regift – something useful that can be reused
Relocate – any items that belong elsewhere
Retail – things you think you can sell
You can choose whatever labels make sense to you…
trash, reuse, move, sell…customize your boxes with what works for you best!!
4. Be Choosy
Fourth, it’s time to be super choosy!
You’ve got to get your mindset ready to be ultra picky in the PURGE (channel your inner “Mommy Dearest” – NO WIRE HANGERS!) .
Only keep the thing you love and use….everything else gets placed in a labeled box.
5. Dump It
Next, empty all of the cabinets…
basically any storage container of every type…
this is a CRUCIAL STEP…
don’t just look through your storage area and remove a few things.
Empty every container in your garage/basement/attic and only put back the things that you use.
Think about step #1 and your vision. If it’s not in alignment with your original vision, remove it and put it in one of your labeled boxes/bins.
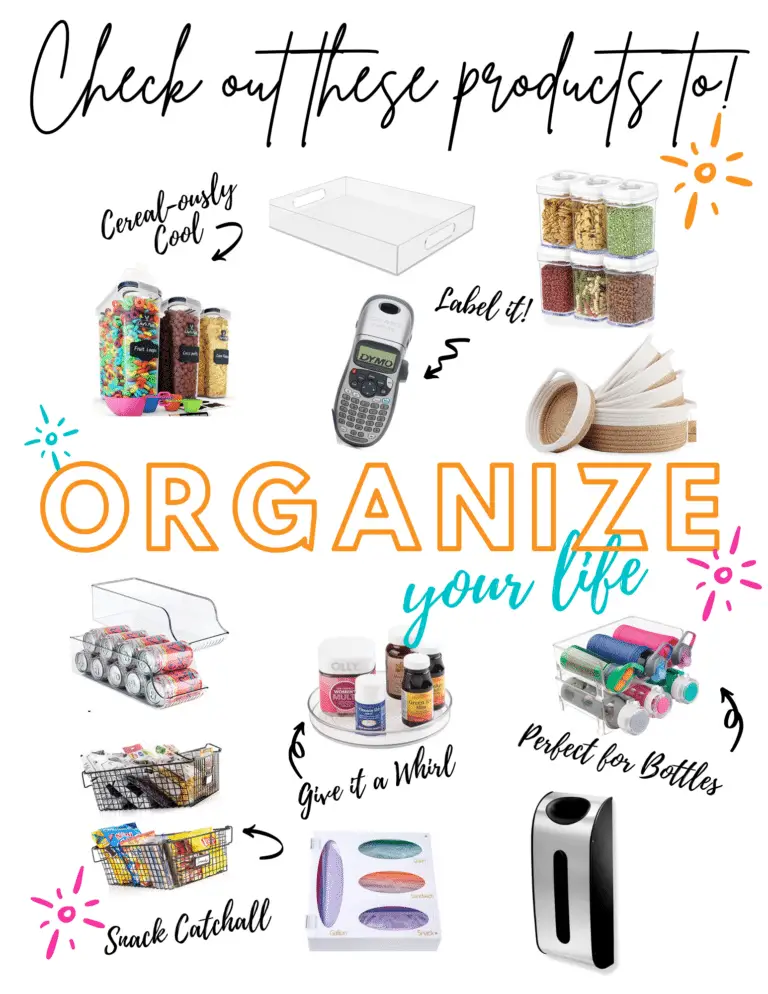
As for the things that you keep, there are lots of smart and unique ways to store them, and I’ll be sharing some of my favorite organizing products here.
6. Clean Up and Celebrate Good Times, Come On!
Lastly, dust, clean, vacuum all surfaces (yes, I vacuum my garage), and remove your labeled boxes, & celebrate your accomplishment!
Take a quick moment and see how amazing it feels…Look around, you’ve made progress and your Purge Party is officially complete!!!
You’ve removed all the unwanted JUNK and SIMPLIFIED your home. Don’t you feel lighter and more centered?
In case you need the shorter version of the process…you’ve got it here!
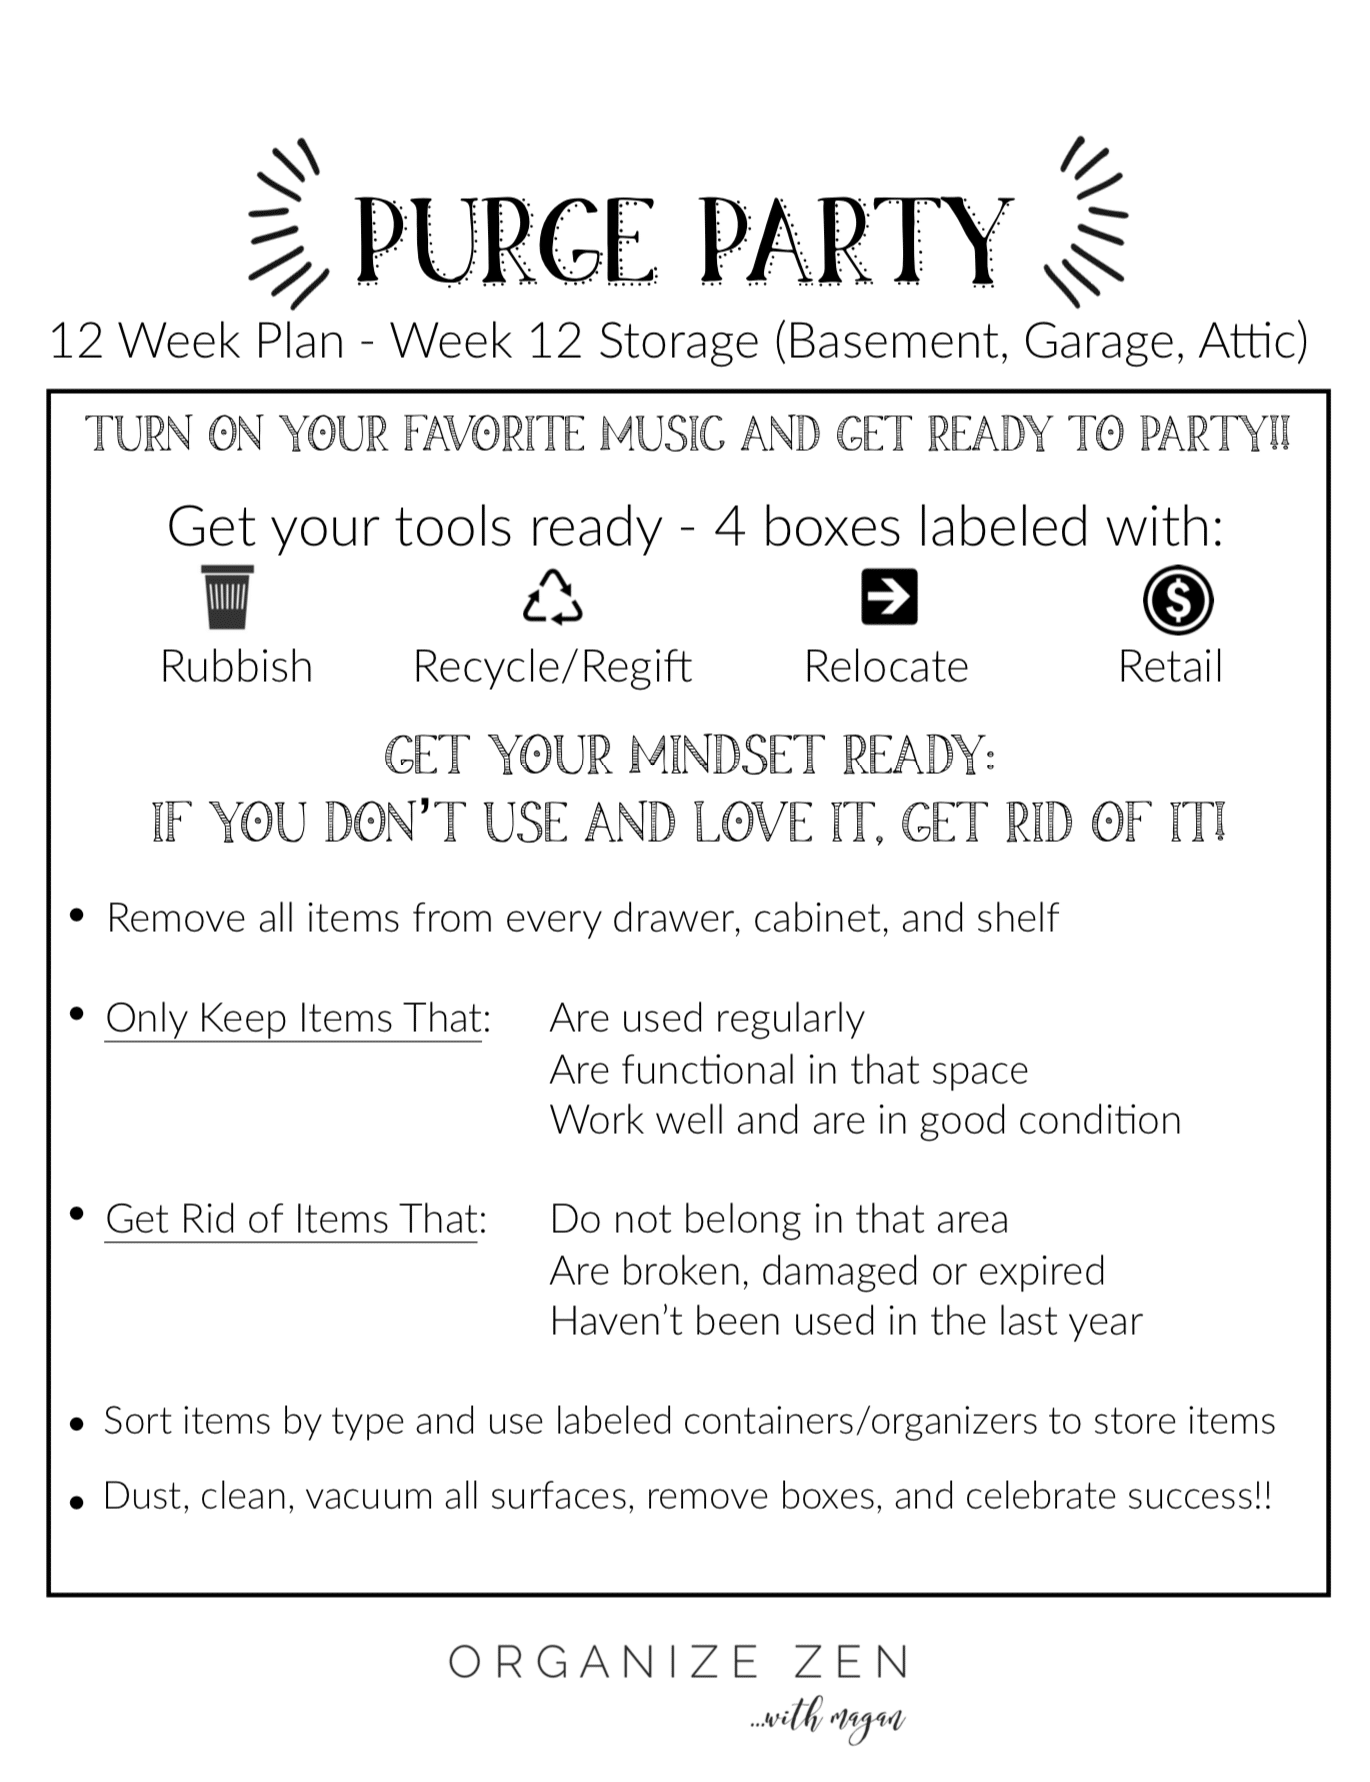
Also, if you are just joining the Purge Party, it’s never too late to be a part of the fun…you can never be too tardy for this party!
You can see all of the Purge Party Blogs and Printables on my Pinterest Page (here)
As always, don’t be shy, share your PURGE experience.
How did you feel after?
Was it hard or easy?
What did you learn about yourself and what you’ve been holding onto that you released?
Give us the deets, peeps!
Congrats!!! YOU DID IT!!! PURGE PARTY IS NOW COMPLETE!!!
More Purge Party Organizing Posts:
Purge Party Week #1 – Meet Me in the Bedroom…
Second Stop on the Purge Party Train – #2 The Master Bathroom – Hop On Board!
Plunging into Purge Party Week #3 – The Master Bedroom Closet
Week #4 – Kids Spaces – We’re Going on a Junk Hunt!
Week #5 – Kid Bedrooms – Here’s Looking at You, Kids
Purge Party Week #6 – Bathrooms
Party On!! Purge Party Week #7
Feeling Great in Week #8 in the Laundry Room
Week #9 and Feeling Fine in the Dining Room
Purge Party Week #10 – Taking Care of Business in the Office
Cooking Up Some Fun – Purge Party #11 in the Kitchen


